Hummus, this Mediterranean speciality, has become one of the most popular protein sources for a plant-based diet. Although I cannot share what it is like to make the most truly authentic hummus, I wanted to share here how to make hummus in a way which is gentle and deeply nourishing for your body. With some extra care to the process, it can become so much more delicious and filled with good energy, which I hope you too can sense through your body.
What makes Mindful Hummus?
- Let’s make the hummus from scratch! Instead of using canned beans, let us create this dish from its beautiful source—dried chickpeas. In this way, you can completely be in touch with the element that will nourish your body. Also, you can prepare the cooked chickpeas in such a delicious and nutritional way that you cannot buy in the store!
- Let’s soak well and sprout the chickpeas! Through this extra process, not only the flavor but the nutrition will increase significantly.
- Let’s cook the chickpeas with a small piece of seaweed! Cooking the beans with minerals will do some magic to this process and will transform the nutrition as well as the balance of it.
- Let’s be creative and make your own hummus! There are many different ways that you can create various varieties of hummus. This will perhaps make your hummus even more special, joyful, and nutritional.
Importance of soaking and sprouting
This is why it is the best to make it from the dried beans rather than using the can of chickpeas from the store! When you get the can of beans, they are not sprouted prior to cooking.
I have never been much a fan of hummus until I began to make my own with sprouted chickpeas. I am one of those who doesn’t digest beans so well. But since I started to make hummus after soaking the chickpeas for 24 hours, and then leaving them for at least another 24 hours to sprout, my body is very happy. The wonderful thing is that not only can I digest them much more easily, but also it becomes much lighter and delicious in flavor!
As I wrote in my article “Baked Falafel with Sprouted Chickpeas” more extensively about the reasons and benefits of soaking and sprouting, through soaking and sprouting, beans contain an inherent substance that counteracts with our digestive movement. Through soaking and sprouting, much of this substance can be released.
Process of soaking and sprouting
It is nothing complicated. You just need one larger bowl and space in your kitchen to leave it.
- Rinse the chickpeas well with the filtered water. You want to do the rinsing and draining cycle at least twice.
- Fill the bowl with water. You want to pour 3 times more water than the volume of chickpeas.
- Leave the bowl on the counter for 24 hours. Around the halfway mark, rinse, drain, and fill with the fresh filtered water once again.
- Once the beans are soaked for about 24 hours, rinse and drain them, then leave the beans in the strainer that is placed in the bowl. Cover the top and let it be for a half day.
- Rinse, drain, and leave the beans again in the strainer inside the bowl, covered, and wait for another half day.
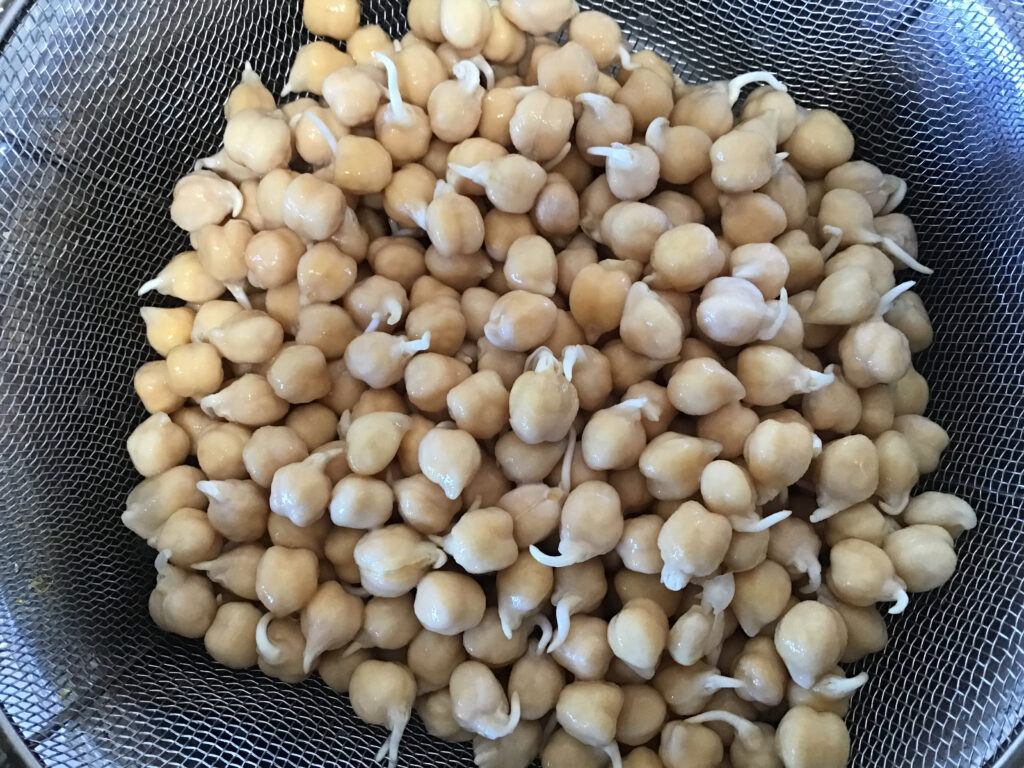
- After a day, you will see the sprouts of chickpeas coming out. If you like to sprout them more, you can do this 12 hour cycle of rinsing, draining, and letting them sit further. But after 24 hours, you are ready to cook the beans!

Planning a few days ahead
This might be an additional effort for some of you, but once you get used to it, it won’t be such a big deal. In order to soak and sprout, we have to prepare the beans 2 days prior to cooking. So, if you feel that you want to have hummus for one of your staple foods in the week, look at your schedule and decide which day you want to make it. Then you calculate two days backwards and that’s the day you want to start soaking beans.
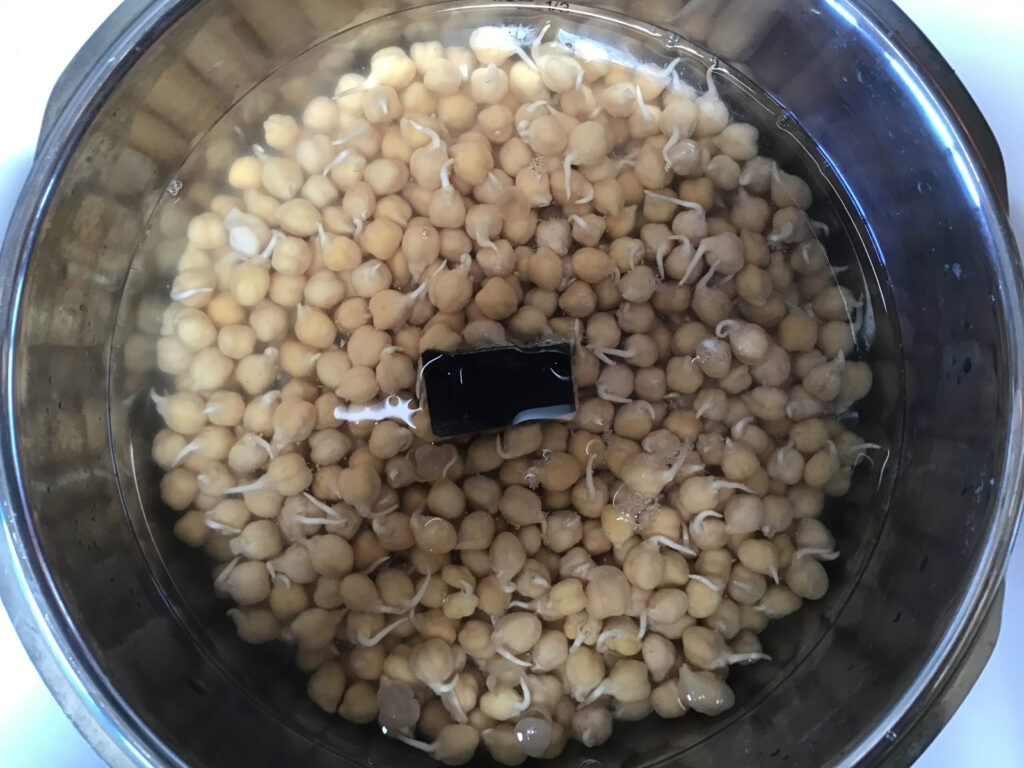
One piece of seaweed for cooking beans
This is my Japanese tradition—to put one postal stamp size of kombu seaweed when you cook beans. Seaweed contains many different kinds of minerals that are beneficial for our body. As beans contain a fair amount of fat, we say that this seaweed is neutralizing the fat. But there is more benefit to it. The cooking broth becomes quite delicious! I always add the cooking broth when I make hummus, which would make the texture more creamy. But also, it will add a good balance of minerals due to the seaweed.
Make a large batch to ease your meal schedule of the week
When I make hummus, I usually make it with 1 cup of chickpeas. This becomes three servings for two of us, which makes it very helpful for making some of the meals effortlessly, but still very nutritional. It is a wonderful source of protein.
Make your own creative hummus!
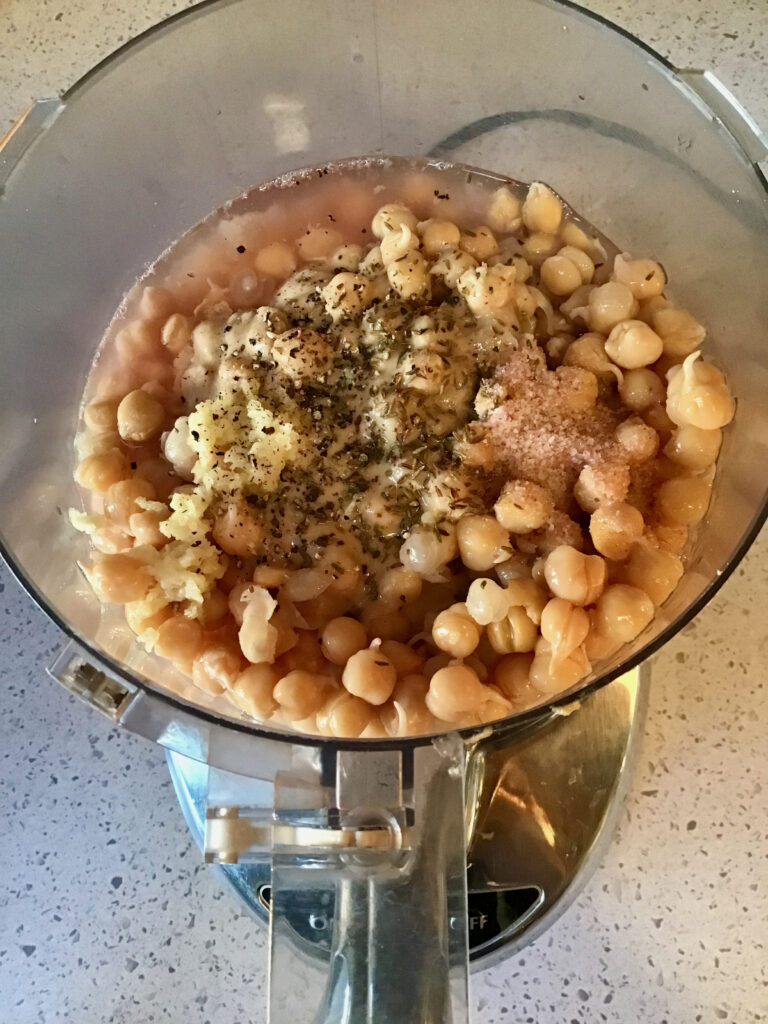
The basic recipe for hummus is quite simple. You blend the following ingredients:
- cooked chickpeas
- chickpea broth (cooking water)
- garlic
- tahini
- lemon juice
- cumin
- salt
But there are various creative ways to make variations of it. Here are a few examples:
- Using ume plum vinegar instead of lemon juice and decreasing the amount of salt for a little Japanese flavor.
- Adding a few drops of food grade organic lemon essential oil to bring out more lemon aroma.
- Drizzling flax oil instead of olive oil on top to take omega-3 fatty acids.
- Blending hummus with fresh kale to make green hummus.
- Blending hummus with steamed beets to make red hummus.
- Using hot sauce brine to add some hot pepper aroma and flavor as well as transforming it into a hummus with probiotics.
- Having different garnish on top of the hummus, such as cilantro, spring onion, chive, and more.
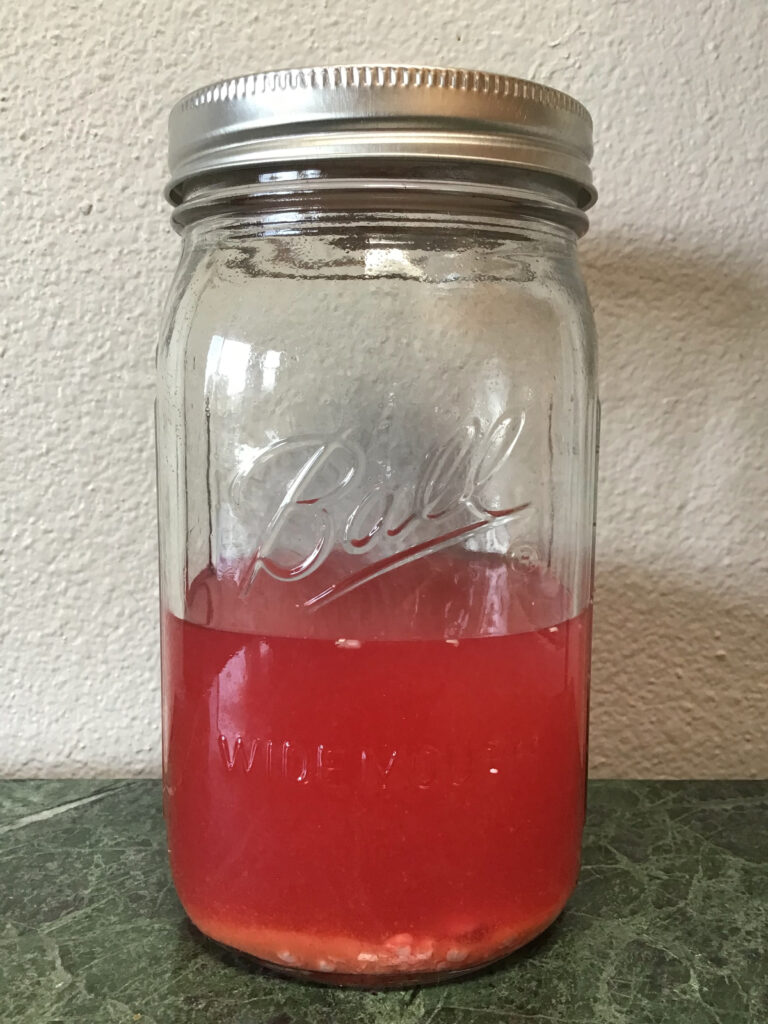
Hummus with fermented hot sauce brine
Since I made a large amount of fermented hot sauce to last until next year, I have been having a beautiful amount of brine which is the by-product of making the hot sauce. It has a wonderful flavor and aroma with subtle spiciness. I have been using it for making salad dressing, but there is another way I have also been enjoying it—using it to make hummus!
As you can probably imagine how well hummus could go with the flavor of hot pepper, hummus made with the hot sauce brine was a wonderful success. And as the brine is fermented, it adds to it not only the complex flavor of fermented food but also the additional nutritional value of probiotics.
In this article, I will write both the recipes to make regular hummus, as well as with hot sauce brine!
Various usage
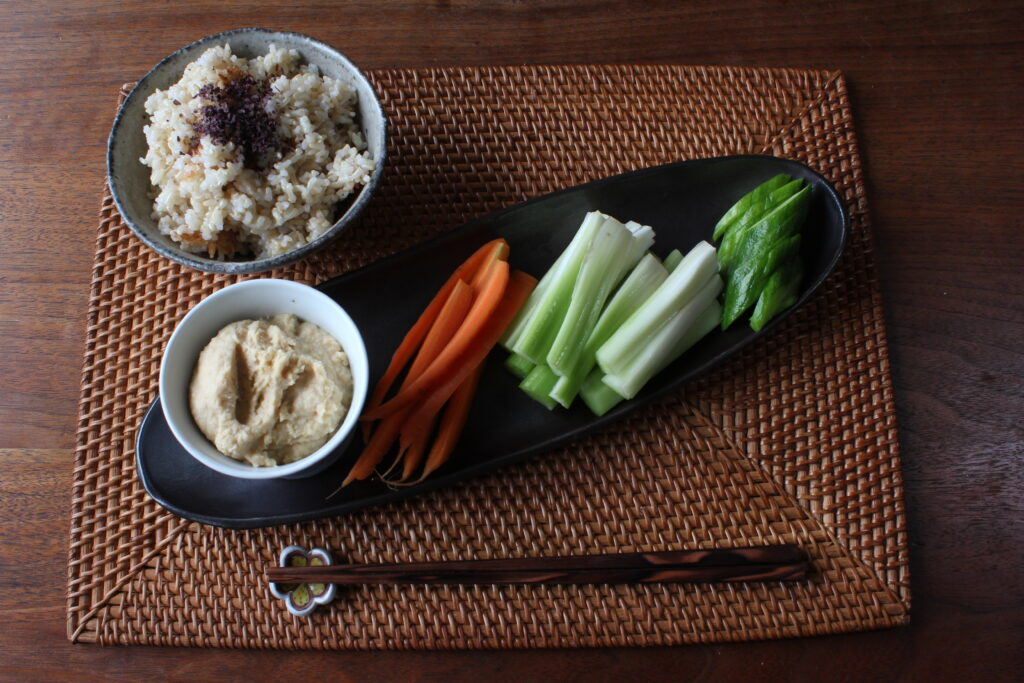
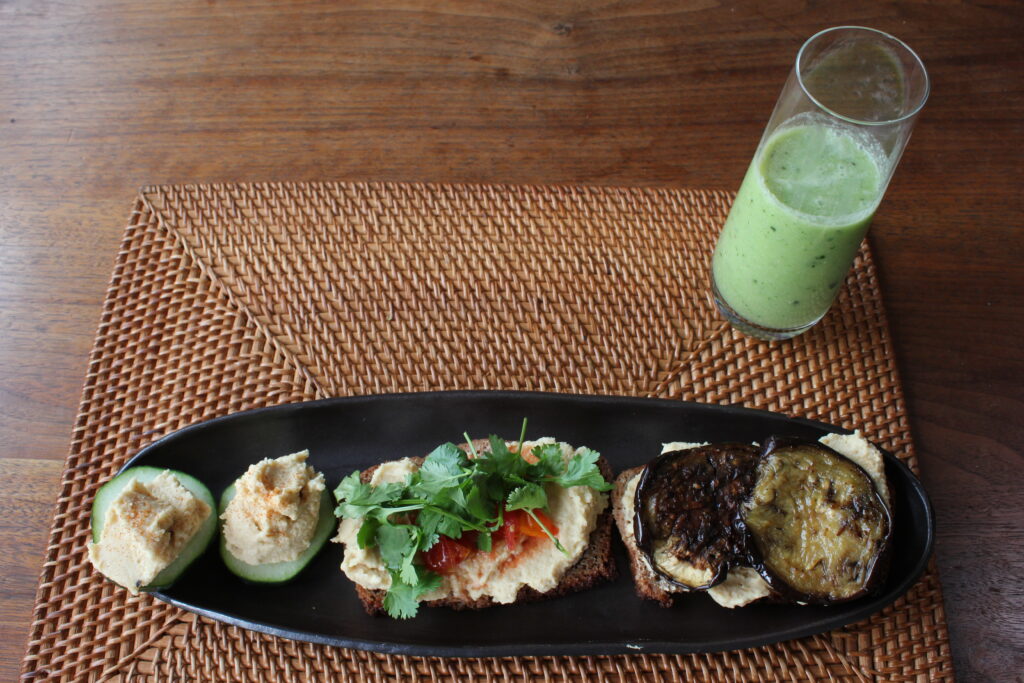
In warmer days, it is such a delight to eat this hummus with fresh vegetable sticks. Raw vegetables give beautiful coolness to the body, and the hummus gives us grounding nutrition. Eating with homemade sourdough crackers can be an easy and nutritional light lunch if you eat it also with some vegetables. And this can be a lovely snack if you want some boost of energy and sense of satisfaction. I also use it for making sandwiches, some of whose examples you can find in this article “Open sandwich with hummus and cucumber-watermelon smoothie.” Also, I love eating with some cooked grains. For instance, adding on top of quinoa salad for some extra protein. The Mediterranean feast we had with baked chickpea falafel was also very very delicious! I am curious what kind of creative ways you have for incorporating hummus in your meal!
Sprouted Hummus

Ingredients
- 1 cup chickpeas
- chickpea broth/cooking water—amount you prefer to realize the desired texture
- 1 postal stamp-size Kombu
- 2 tbsp lemon juice
- 2 garlic cloves
- 3 tbsp tahini
- 1 tsp salt
- freshly ground black pepper
- cumin
- —————
- For serving:
- EV olive oil or flax oil
- paprika or cayenne pepper
- cilantro, spring onion greens, chives, or other preferred garnish
- —————
- For hummus with fermented hot sauce brine:
- Add 3 tbsp hot sauce brine
Directions
- Step 1 Rinse the chickpeas well with the filtered water. You want to do the rinsing and draining cycle at least twice.
- Step 2 Fill the bowl with water. You want to pour 3 times more water than the volume of chickpeas.
- Step 3 Leave the bowl on the counter for 24 hours. Around the halfway mark, rinse, drain, and fill with the fresh filtered water once again.
- Step 4 Once the beans are soaked for about 24 hours, rinse and drain them, then leave the beans in the strainer that is placed in the bowl. Cover the top and let it be for a half day.
- Step 5 Rinse, drain, and leave the beans again in the strainer inside the bowl, covered, and wait for another half day.
- Step 6 After a day, you will see the sprouts of chickpeas coming out. If you like to sprout them more, you can do this 12 hour cycle of rinsing, draining, and letting them sit further. But after 24 hours, you are ready to cook the beans!
- Step 7 After the last rinse and drain, put the chickpeas in a pressure cooker and cover with the filtered water.
- Step 8 Cook the chickpeas with the pressure for 30 minutes until they get tender.
- Step 9 Once the pressure is off, transfer the beans into a bowl and let them cool down.
- Step 10 Put all the ingredients into a blender and blend them all well.
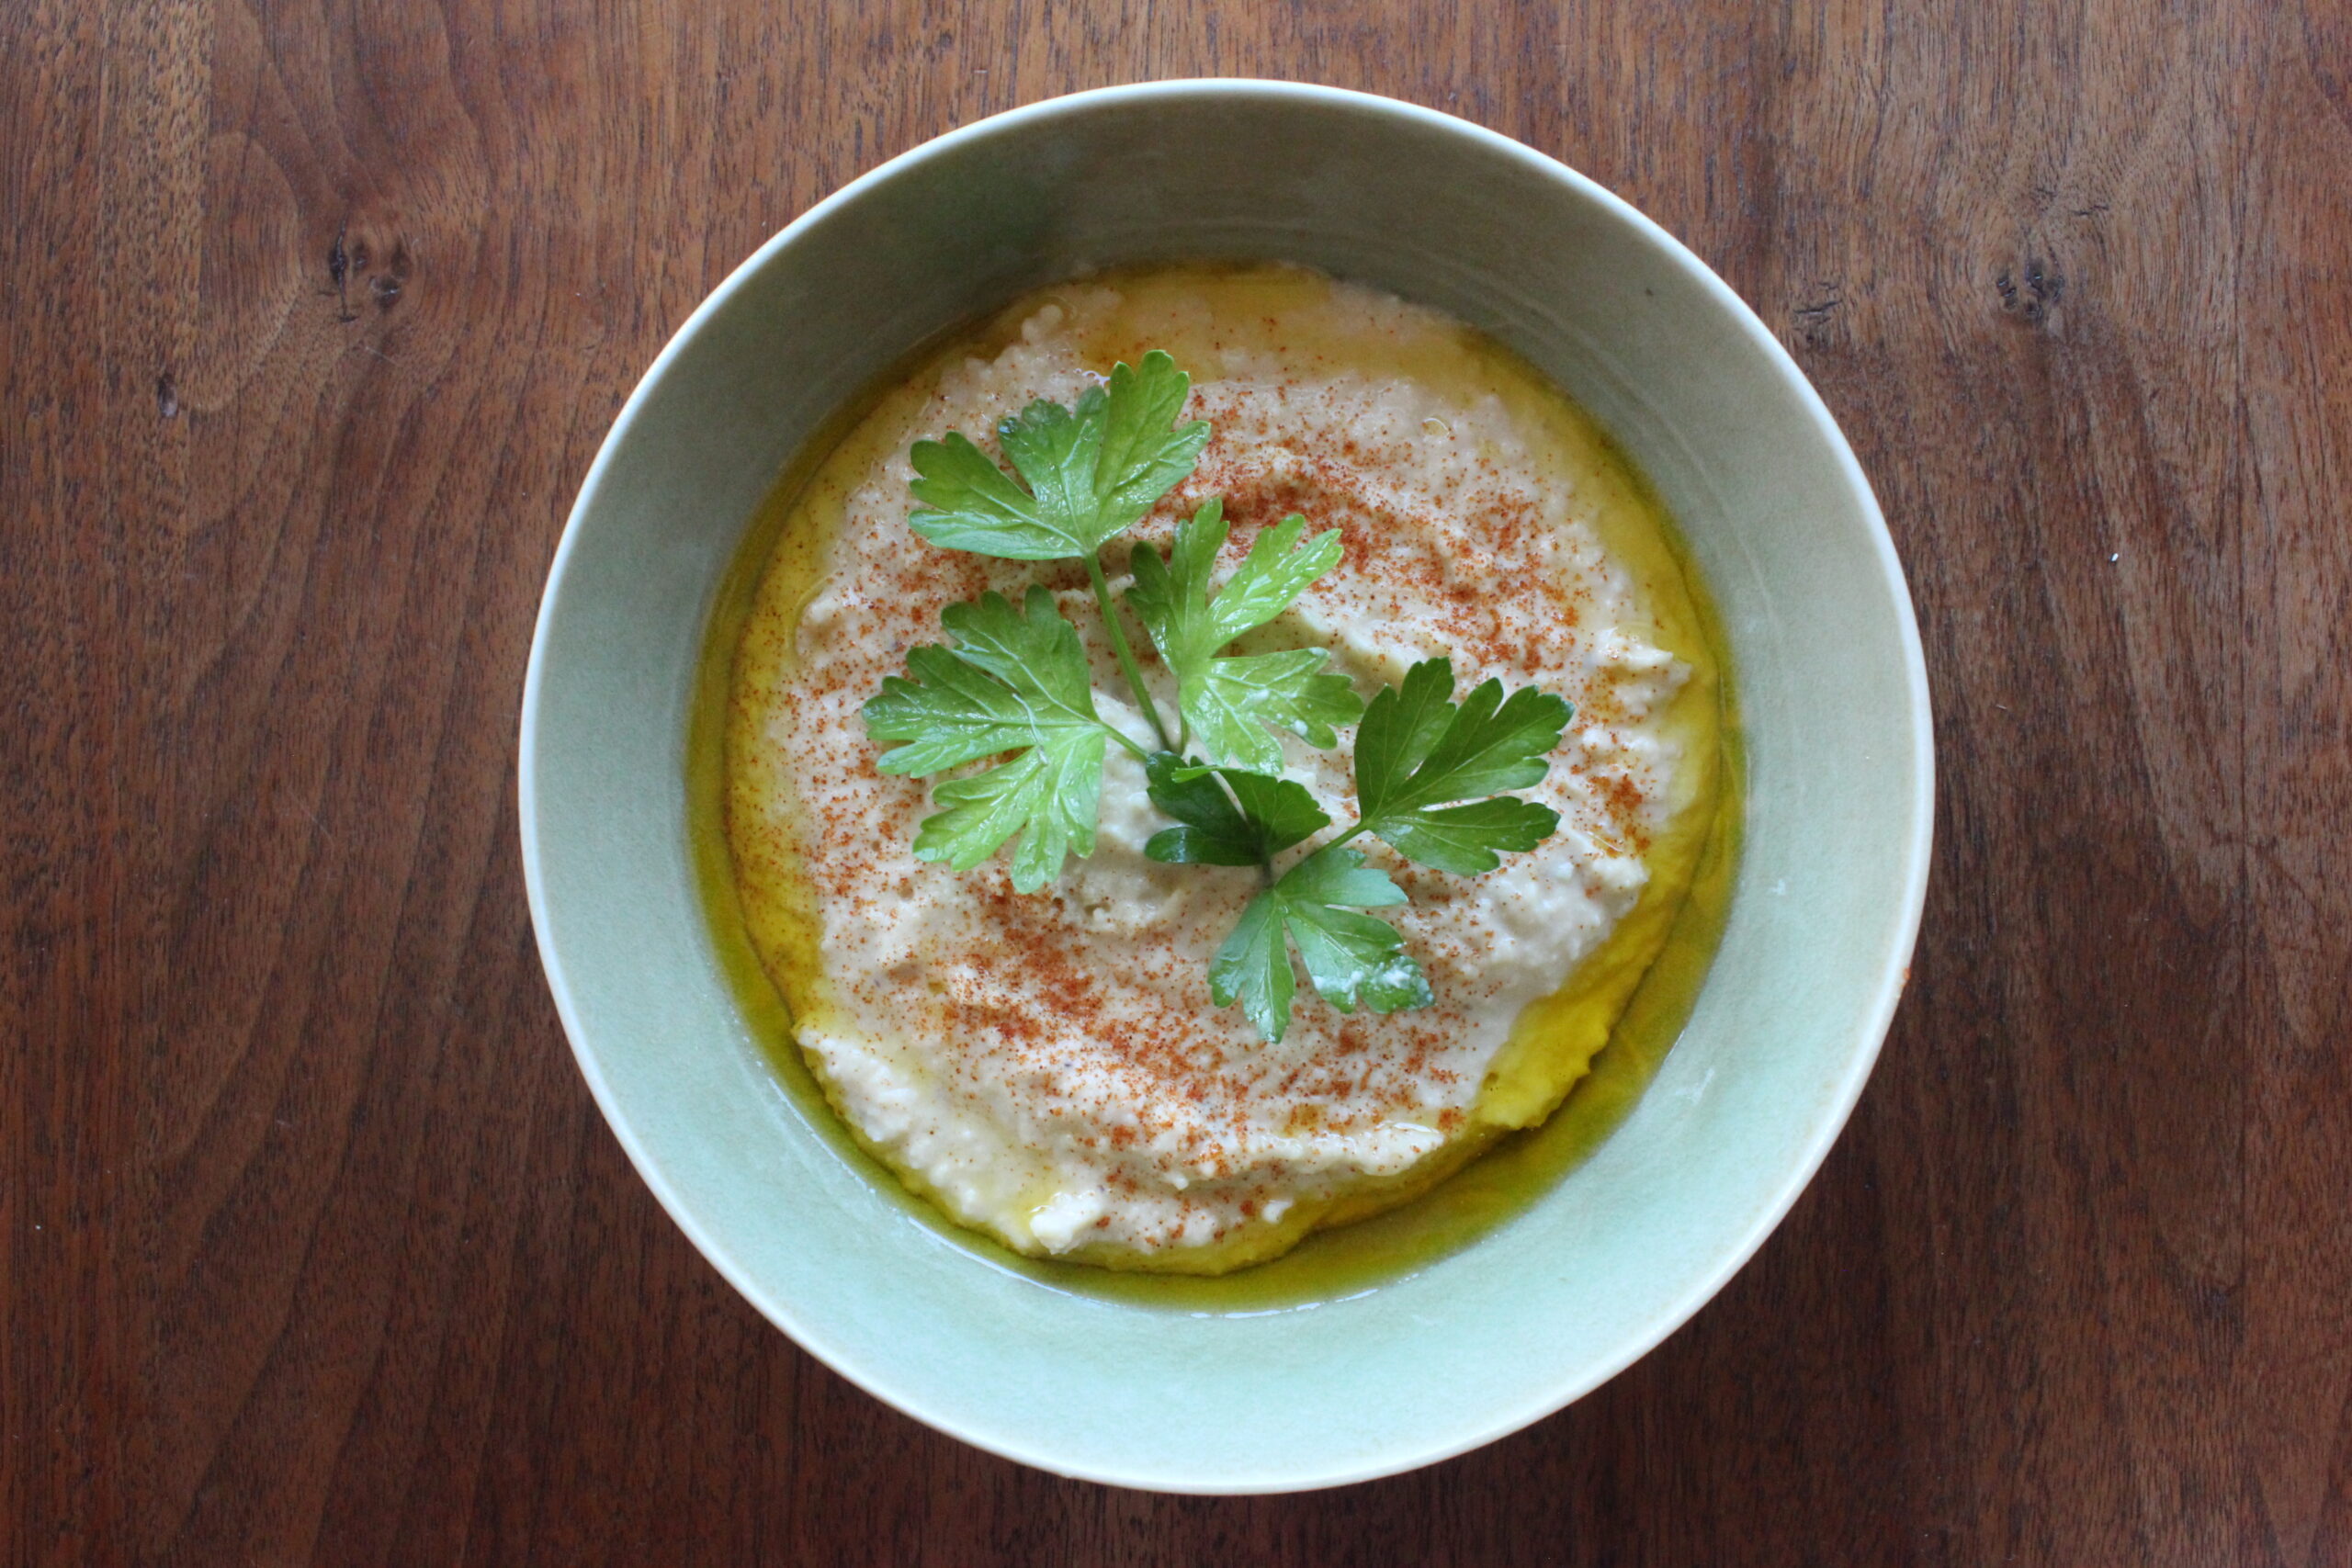
- Step 11 Serve the hummus with a drizzle of EV olive oil or flax oil, some paprika or cayenne pepper, and some garnish, to your liking